2 minutes
Auto Linting With Github Actions

Why use a Linter?
Linting ( the automated checking of source code for programmatic and stylistic errors ) is important, because it reduces errors and improves the overall quality of your code. Automating the linting so that it happens every time you push to your repo is a way to make to make your life easier. Nobody likes to sift through messy code, right?
Why use GitHub Actions?
Because most of my repos live on GitHub and they made Actions very easy to use. They also have some great documentation.
Steps
Add the folders structure
GitHub looks for Actions (which are defined using YAML) files in the .github/workflows directory. So, first we have to create the directories in our repo’s root.
mkdir -p .github/workflows
It should look like this:
repo
└──.github
     └── workflows
Create linter YAML file
With the directory setup, we just have to create the linter.yaml file, which looks like this:
---
name: Lint Code Base

on:
  push:

jobs:
  build:
    name: Lint Code Base
    runs-on: ubuntu-latest

    steps:
      - name: Checkout Code
        uses: actions/checkout@v2
        with:
          fetch-depth: 0

      - name: Lint Code Base
        uses: github/super-linter@v4
        env:
          VALIDATE_ALL_CODEBASE: false
          DEFAULT_BRANCH: main
          GITHUB_TOKEN: ${{ secrets.GITHUB_TOKEN }}
Push the code and watch the linter run
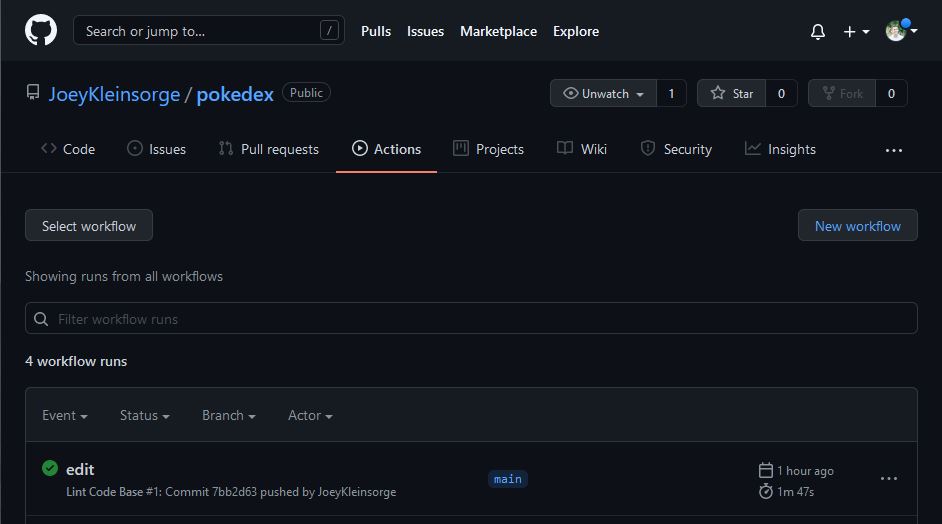
Pushing your commit to Github will trigger the Action to run super linter against your code .
head over the Actions tab in your repo.

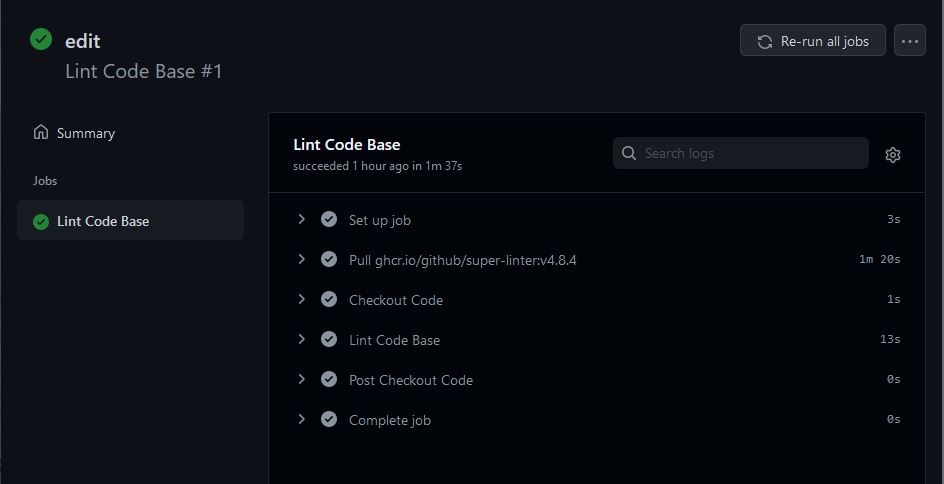
Check the workflow run
Check the output of Super Linter and see if there is anything you need to tidy up.

Conclusion
If you haven’t used GitHub Actions before, check them out. They offer a ton of functionality and this is just a very basic use case.
Extra
You can also add this fun badge to your README to show off your code’s cleanliness.

Just add the below snippet where you want it to show up.
[](https://github.com/marketplace/actions/super-linter)